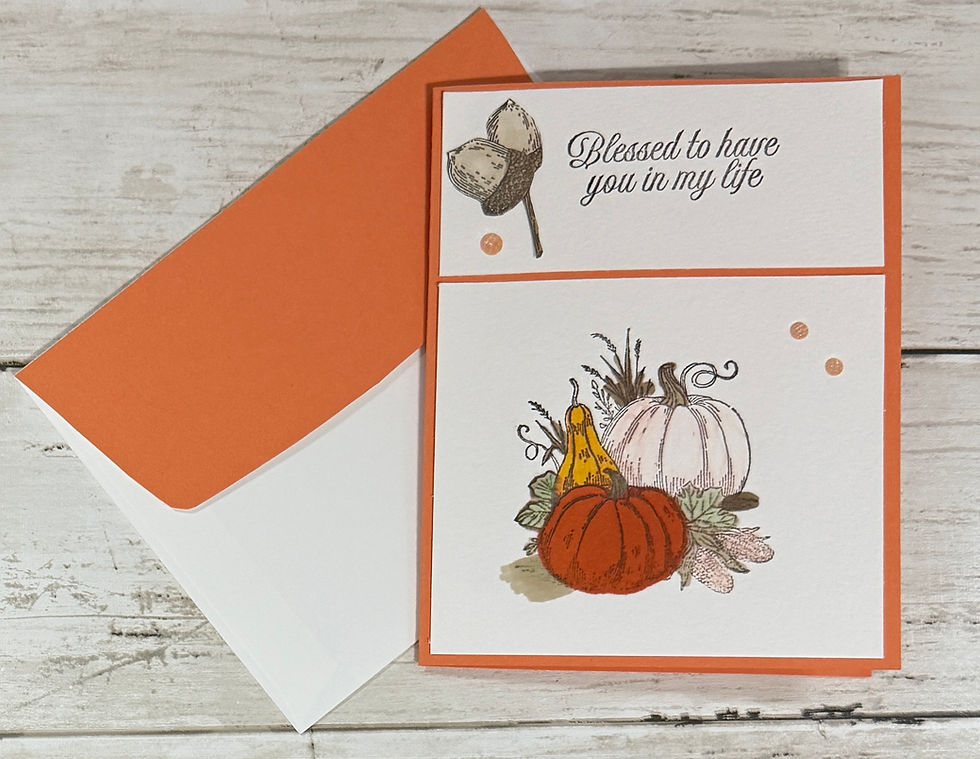
Gathering Together with Textured Notes
- Cutting Up with Kathy

- Sep 25
- 2 min read
Updated: Sep 27

All images © Stampin’ Up! ®
Supplies:
Stamps: Amber Autumn
Cardstock: Basic White
DSP: Gathering Together
Ink: Early Espresso
Dies: Textured Notes
Tools: Paper Trimmer; Scissors; Stampin’ Cut & Emboss
Adhesive: Liquid Glue; Stampin’ Dimensionals
Embellishments: Starburst Sequins
Directions:
Card Base:
1. Score Basic White Cardstock 4-1/4” on 8-1/2” side
2. Cut 5-1/2” on 11” side; (this makes 2 Card Bases)
Fold on Score Lines & burnish with Bone Folder
3. Cut coordinating DSP 5-1/2” x 2-1/4” for the bottom;
Adhere to the bottom of the Card Front with Liquid Glue,
lining up with sides & bottom
Die Cutting:
(Note: Use 3 Dies, starting with the smallest Die - use every other Die)
1. Cut Brown DSP scrap 5” x 3-1/2”; Die Cut with 4-3/4” x 3-1/4” Rectangle Die
2. Cut Leaves DSP scrap 4” x 2-1/2”; Die Cut with 3-3/4” x 2-1/4” Rectangle Die
3. Cut Basic White scrap 3” x 1-1/2”; Die Cut with 2-3/4” x 1-1/4” Rectangle Die
for Sentiment
Sentiment:
1. Stamp “Blessed to have you in my life” on Basic White Die Cut in Early Espresso Ink
Card Front:
1. Center & adhere Brown Die Cut DSP along the top with Liquid Glue,
leaving an even Basic White border along top & sides
2. Center & adhere Die Cut Leaves in the center of Brown DSP
with Stampin’ Dimensionals
3. Center & adhere Sentiment over the Leaves about 1” from the bottom
with Stampin’ Dimensionals, along the bottom only, of the Sentiment
leaving the top open
4. Fussy cut a few Leaves from coordinating DSP;
layer & adhere Leaves behind Sentiment with Liquid Glue
5. Add Starburst Sequins to Sentiment
Inside Card:
1. Cut coordinating DSP 5-1/2” x 3/4”
2. Adhere only the top inside, just below the fold line with Liquid Glue
Envelope:
1. Cut coordinating DSP 6” x 2-1/2”
2. Adhere Liquid Glue to the outside of the Envelope flap;
Place DSP over outside flap, along the folded edge, covering all sides of the
flap & adhere
3. Let dry a few minutes, then Trim along the edges of the envelope flap with Scissors


Comments